
How to Store Homemade Granola and Keep Its Crunch
Let granola cool completely, pack it in a tight container, keep it dry and date the label. Here is how glass, plastic and pouches compare and how to judge freshness.
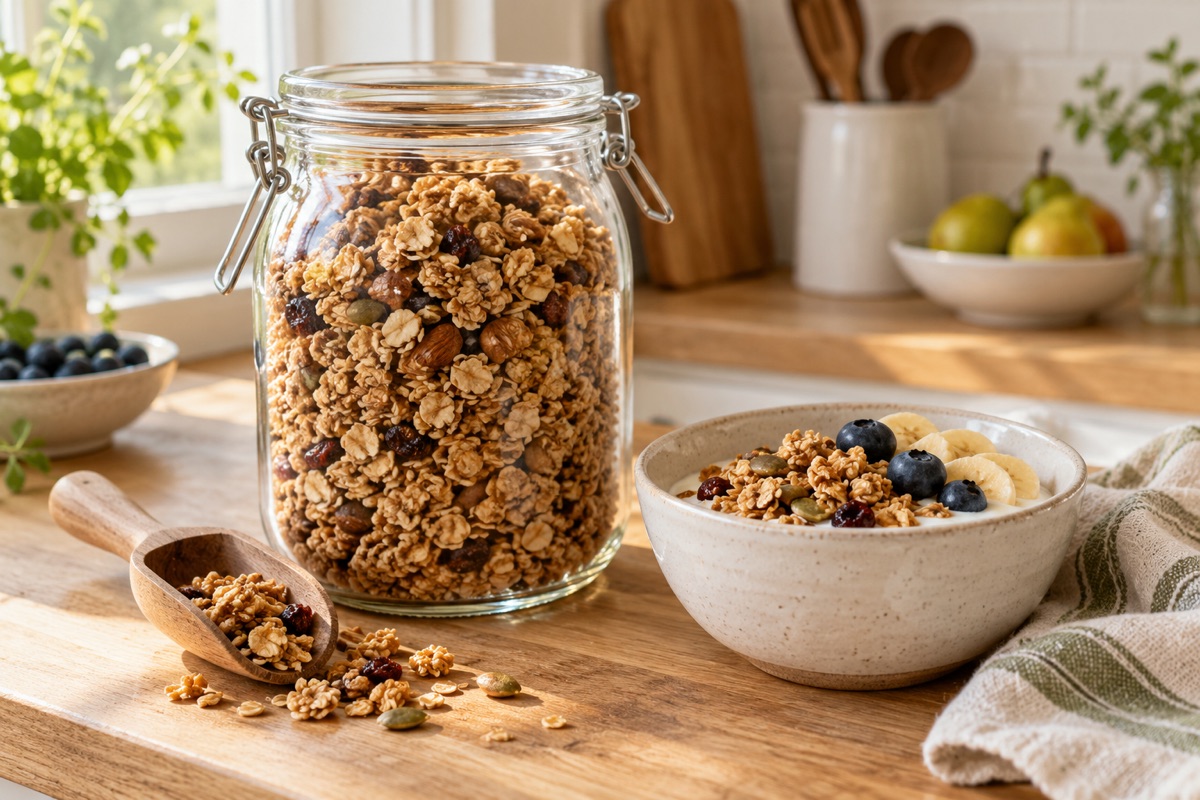
Homemade granola stays crunchy when you cool it completely before it goes in a container, seal it tightly, and keep it somewhere dry. Moisture is what turns it soft, so the cooling step and the container matter more than anything else. Write the date on the label and use the oldest batch first.
This guide applies to readers in the United States and was last reviewed on October 4, 2026. No official source gives a shelf life for homemade granola, so this guide does not state one. It gives you a way to track and judge your own batches instead.
What you are protecting
Two things work against granola after baking. The first is moisture. Baked clusters are dry and crisp, but air carries humidity and the clusters pick it up and soften. Dried fruit, if you stir it in, is moist and can pass some of that moisture to the oats around it.
The second is the fat. Oil and nuts can go stale or rancid over time. That is a quality problem, and it shows up as a stale, bitter or paint-like smell. You can’t reliably judge from smell alone whether granola is safe or unsafe. Light, heat and air all work against fats, so a cool, dark cupboard is the usual place to keep it.
Quick steps
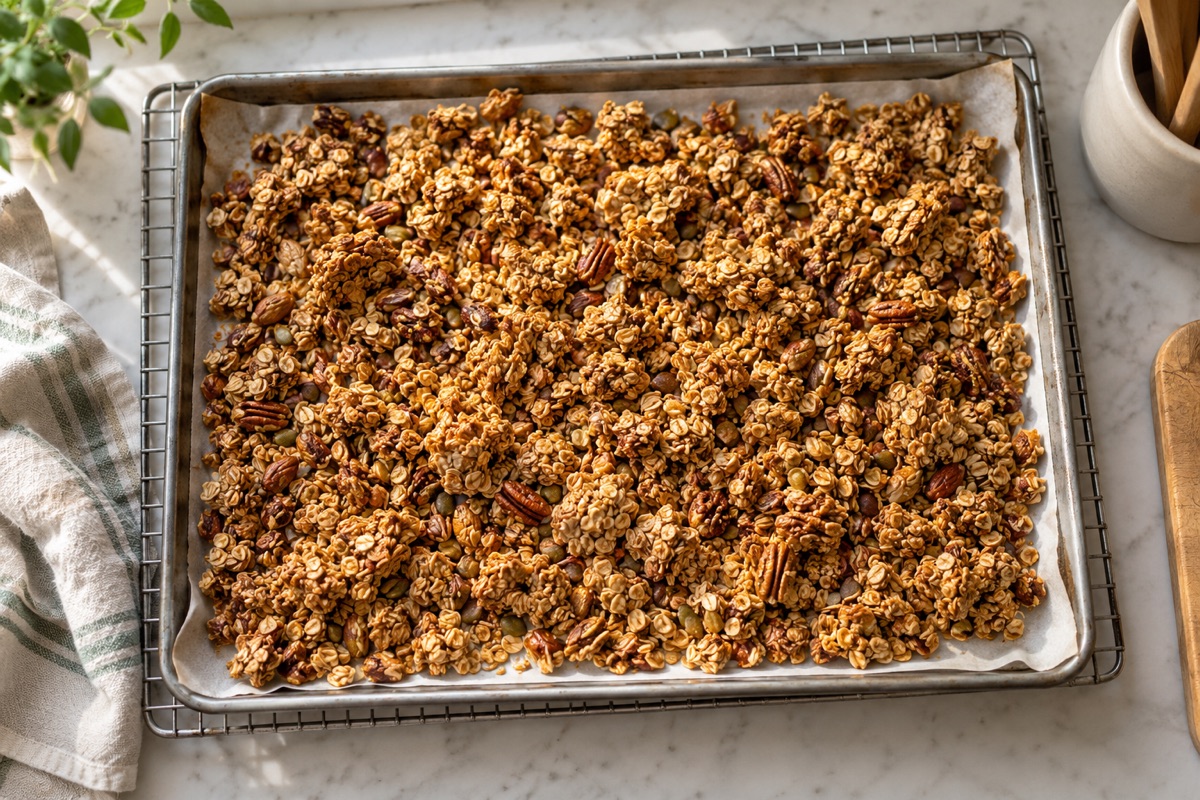
- Cool the granola completely on the pan. If you are making the homemade granola with crisp clusters, leave it undisturbed so the clusters set as they cool. The National Center for Home Food Preservation advises cooling foods before packaging in general. For granola, warm granola in a closed container releases steam that softens the clusters.
- Stir in dried fruit, chocolate or coconut after cooling, if the recipe allows. Warm add-ins can melt or release moisture.
- Fill a clean, dry container, leaving little empty air at the top.
- Seal tightly and keep it away from the stove and direct sunlight.
- Label it with the product name, any ingredients that matter (nuts are an allergen) and the date you packed it.
Container comparison
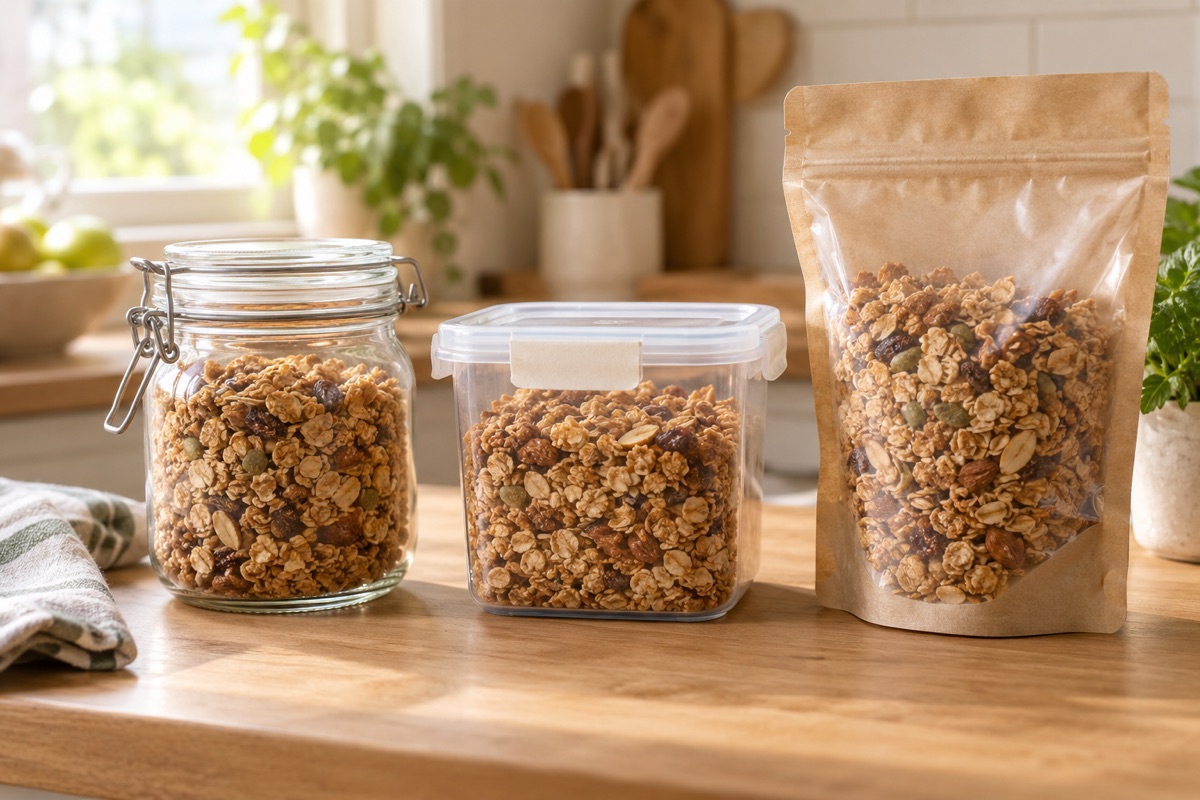
No single container is best. Each suits different conditions.
| Container | Where it works well | What to watch |
|---|---|---|
| Glass jar with a gasket or clamp lid | Everyday pantry storage; easy to see inside; does not hold odors | Heavy and breakable; clear glass lets in light, so keep it in a cupboard |
| Plastic container with a snap lid | Lightweight and stackable; good for gifting a portion | Check that the lid seals firmly; some plastics hold odors from past foods |
| Resealable pouch | Small portions, travel, and flat storage | Press out air before sealing; pouches can crush clusters and the zipper may not seal as tightly over time |
| Metal tin | Dark storage and gifting | Make sure the lid is tight; a loose lid lets humidity in |
The National Center for Home Food Preservation lists what good freezer packaging does: it resists moisture vapor, is durable and leakproof, protects against off flavors and odors, and is easy to seal. Those are sensible criteria for pantry containers too, although that source is written about freezing.
If you are weighing a pouch against a rigid container for something you plan to sell or give away, see what to compare in stand-up pouches for granola. If you are curious how the seals on commercial bags work, how chip bags are sealed explains the idea. For tight containers versus vacuum bags, read airtight versus vacuum-sealed storage. Vacuum sealing can crush clusters, so a rigid container is generally the gentler choice.
Pantry, fridge and freezer
A cool, dry, dark cupboard and a sealed container are the usual home method. A warm spot next to the stove speeds up staleness in the fats.
The fridge is more humid than a cupboard, and condensation can form each time you open the container, so granola may soften there. It makes sense for granola with perishable ingredients, such as fresh fruit or yogurt coatings, and for hot, humid kitchens, where the cooler temperature may help. If the granola contains anything that needs refrigeration, follow official guidance for that ingredient.
Freezing is an option for a large batch. The FDA says food properly stored at 0°F will remain safe indefinitely, with quality decreasing the longer it stays frozen. The National Center for Home Food Preservation says storage times in freezing guidance describe quality, not safety. Use freezer-rated containers or bags, press out air, and label with the date. Let granola come to room temperature before opening the container so condensation does not form on the clusters. Crisp texture after freezing varies by recipe, so this guide does not promise how any batch will turn out.
Date it and rotate it
Because there is no official shelf life for homemade granola, build a habit instead of trusting a number. Write the date you baked it on the container or a strip of tape. Use older containers first: the National Center for Home Food Preservation suggests “first in, first out” for the freezer, and the same habit works in a pantry. If you finish granola slowly, make smaller batches.
Granola is past its best when it has softened and does not recrisp, smells stale, bitter or like old oil, or tastes off. Cues like these tell you the granola has lost its appeal. They do not tell you whether it is safe: the FDA notes that food can make you very sick even when it does not look, smell or taste spoiled. The FDA also says mold is a sign of spoilage and that the safest practice is to discard moldy food. If you see mold or are unsure, throw it out.
Recrisping and common questions
Can I recrisp soft granola? If the granola is soft because of humidity and nothing else is wrong, spread it on a pan, warm it in a low oven, then cool it fully. That usually dries it out. Do this only with granola that smells and looks normal.
Does granola need to be refrigerated? Not by default. Refrigerate it if it has perishable ingredients or if the recipe or product label says to.
Can I store store-bought granola the same way? Follow the package. Product labels and manufacturer instructions take priority, including any “best by” or storage directions.
Is a food-safe jar the same as an airtight jar? No. A food-safe container is made of materials meant for food. Airtight describes how well it seals. You want both.
Official guidance and review date
Reviewed October 4, 2026 for the United States. The packaging, labeling and freezer points above come from the National Center for Home Food Preservation at the University of Georgia, and the safety points come from the FDA. The extension source covers freezing, so the pantry advice here is general guidance rather than official shelf life. See the food safety note below for the FoodSafety.gov storage charts, and follow product labels where they differ.
Official guidance and sources
Sources last checked October 4, 2026.
- Containers for Freezing , National Center for Home Food Preservation, University of Georgia (accessed October 4, 2026) Used for general container qualities (moisture-vapor resistance, tight seals) and rigid versus flexible packaging.
- Packaging and Labeling Foods , National Center for Home Food Preservation, University of Georgia (accessed October 4, 2026) Used for cooling before packing and for what to put on a label.
- How Long Can I Store Frozen Foods , National Center for Home Food Preservation, University of Georgia (accessed October 4, 2026) Used for the "first in, first out" habit and the point that storage times are for quality.
- Are You Storing Food Safely? , U.S. Food and Drug Administration (accessed October 4, 2026) Used for the points that mold is a sign of spoilage and that food can make you sick without looking, smelling or tasting spoiled.