
How to Make a Family Recipe Book
Plan chapters, use a consistent page template, choose between home printing and a print service, and proof a family cookbook before you order copies.
To make a family recipe book, decide its scope, group recipes into chapters, lay every recipe out on the same page template, and print a small proof copy before you order more. The book is a finished object for readers. That makes it a different job from archiving, which is about keeping originals and files safe.
If your recipes are still in drawers and shoeboxes, do the saving first with the workflow in how to preserve family recipes, then come back here to design the book.
Decide the scope
Settle a few things before laying out a single page, because they affect everything after. Who is the audience: close relatives who know the stories, or people who never met the cooks? How big will it be? A thin booklet of 20 recipes is far easier to finish than a 200-recipe volume, and you can always make a second edition. Will the recipes come from one person’s collection, one side of the family, or everyone? Will it be a printed binder, a bound book, or a PDF people open on a screen? A gift date gives you a reason to stop collecting and start proofing.
Write the answers on one page and keep it nearby. When you are tempted to add something, check it against the scope.
Plan the chapters
Choose one organizing logic and apply it to the whole book. Mixed systems confuse readers.
| Structure | Works well when |
|---|---|
| By course (breakfast, mains, sides, desserts) | The recipes are varied and readers look things up by meal |
| By occasion (holidays, weeknights, picnics) | The collection is built around gatherings |
| By cook (one chapter per person) | The people matter as much as the food |
| By generation or branch of the family | You have many contributors and want everyone to find their own |
Each option has trade-offs. Chapters by cook preserve context but make it harder to find “a dessert.” Chapters by course are easy to browse but separate the recipes of one person. A common compromise is to organize by course and put a small credit line on every page naming the contributor.
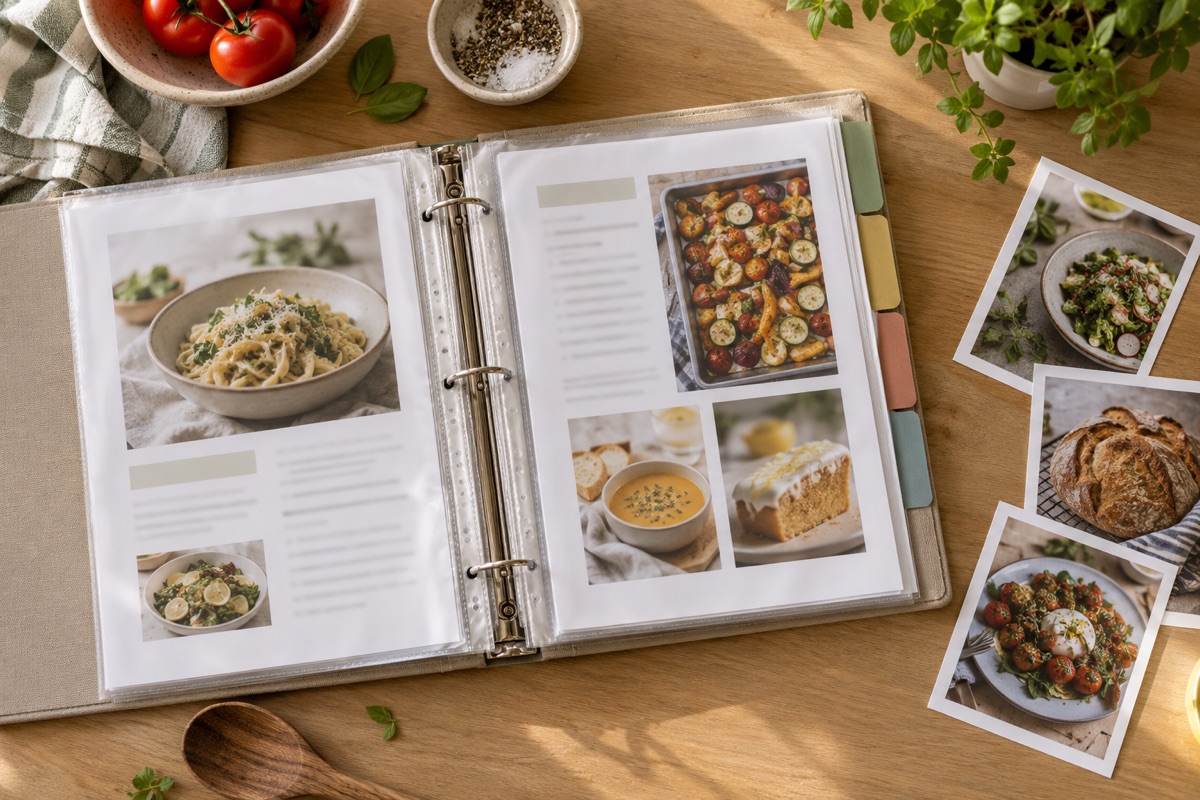
Around the chapters, most books have a title page and a short foreword explaining why the book exists, a table of contents (and an index if the book is long), and a page of contributor names with a line on how each person relates to the book. Add measurement and abbreviation notes so readers know what “c.” or “T” means, and leave blank pages for notes at the end.
Use one page template
A consistent template makes a book feel finished and makes the work faster. Decide the order once, then repeat it. A recipe page can be built from these blocks:
- Title, as written on the original, with a modern title in parentheses if the original is unclear.
- Credit line: “From” and, if known, “written by” and a rough date.
- Headnote, two to five sentences. See how to write recipe headnotes for what to include and what to cut.
- Yield and times, only if you know them. Do not make up numbers.
- Ingredients, one per line, with units.
- Steps, numbered, short, in the order you do them.
- Notes on substitutions or history, marked as notes and kept separate from the recipe.
- Image of the original (optional), such as a small scan of the card or a photo of the cook’s handwriting.
Use the same fonts, the same title size and the same margins throughout. Keep body text large enough to read at the counter. If a recipe has to fit on one page, shorten the headnote before shrinking the type.
Mark adaptations clearly. If you changed a measure or added a step, say so in the notes, so the original author’s wording and your edits stay distinguishable.
Choose how to print
Pick the format that matches your size, budget and readers. Prices and turnaround vary, so check current quotes rather than assuming.
- Home or office printer plus binder: cheapest for a handful of copies. Pages can be added later and the book lies flat. It looks less polished and wears faster.
- Local copy shop with simple binding: a step up in finish, usually spiral or comb binding, which also lies flat on a counter. Ask about paper weight and color options.
- Online print-on-demand service: gives you a bound softcover or hardcover. You usually upload a PDF that meets their page-size and margin specs, and you can order small quantities. Read the file requirements before designing.
- Digital PDF: free to distribute and easy to correct. Fine for relatives who live far away, but it will not sit on a shelf in a kitchen.
If you plan to print in color, test one page first. Colors on screen often look different on paper. If you include old photos, use the scans from your archive, not a cropped working copy.
Proof before you print
Mistakes in a family recipe are costly, because someone will cook from the book. Before ordering more than a few copies:
- Read every recipe aloud against the faithful transcription from your archive.
- Check each ingredient list against its steps. Every ingredient used should be listed.
- Ask a second person to cook one or two recipes from the page alone, if you can. Their questions show where the instructions are unclear.
- Confirm names, dates and spellings with the people involved.
- Look for allergen information. If a recipe contains common allergens such as nuts, milk or wheat, consider a general note so readers can plan.
- Check page order, numbering and the table of contents against the final layout.
Order a single proof copy, look at it on paper, then fix and reorder.
Permissions, credit and rights
A recipe book can contain other people’s words, photos and recipes. Ask contributors before including their recipes, photos or stories, and credit every contributor in the book itself.
Do not copy recipes from published cookbooks or magazines without permission. A family card that clearly came from a published source is better listed as an inspiration, with a note on where it came from. Check that you have the right to use each photo, including who took it.
If you will sell copies, ask whether anyone objects. For a gift book given only within the family, a short note to contributors about what you plan is a courteous minimum.
Common mistakes
- Starting with layout before the scope is settled.
- Mixing organizing systems in the same book.
- Changing a recipe silently and presenting it as the original.
- Letting the headnotes grow longer than the recipes.
- Skipping the proof and discovering a missing ingredient after 30 copies are printed.
- Throwing away the originals after the book is done. Keep them, along with your digital archive.